Friday 9 December 2011

Reflection

This module I have found to be challenging but feel I have gained an indepth understanding of where my strengths are within using 3DSmax. I have enjoyed working with my team and feel we did very well considering there was only 3 and one was part time. I do however wish that we had all been aware of our strengths before starting the assignment therefore we would have been able to delegate more specific tasks to each member. This may have resulted in a better quality animation at the end but I feel it has been much more rewarding to try out many tasks and give the oppurtunity to find our strengths rather then sticking with what we feel most compfortable doing.
Yes I feel the animation could be better but I am pleased with what we have achieved and completing the assignment on time.

Tokens to the poor


For this scene I created a night sky and adjusted the lighting to suit it. I used a target camera and set key frames for the shutter doors to pivot to reveal the bread behind.

Stairs


To give the illusion of walking up stairs I created the camera path to have steps in it.

Out Side Pans

For the outside pans I used a target camera and contrained both camera and target to a path. For the back view I enabled depth of field to give a more realistic view although this increased the rendering time. I used morpher on the bird and constrained it to a path as well.

Friday 2 December 2011

Camera set up for out side


To give a more realistic camera view I set up the the depth of field and reduced the amount of passes in order to render quicker.

Library


Set up:
For the library I placed the bookcases, books, table, book and lamp in the scene. Added a target camera and placed the target on the book, I attached the camera to a path drawn that went through the room. To view more of the library I put key frames in the timeline and moved the camera target to another point in the room.
Lighting:
For the lamp I placed a omni light inside it and added a glow through a lens effect. I then set this to not effect any thing else in the scene. I added another omni light at the back of the room set with an organge colour and very low intensity.

The Bird

For the outside animation I modified a bird that I sourced from:
Reference: 3DS all kinds of birds model document[online]. Available at http://www.3dmodelfree.com/models//22578-0.htm[Accessed [Accessed 28 Novemebr 2011]
I opened the file and chose a bird that had spread wings. I then created bones using the bones creator in the systems menu.
I applied fins to the bones to cover the wings and body correctly.
A skin morpher was applied to the bird and added all the bones to it.
I then created another bird with bones and angled the wings downwards. On the first bird I added a morpher and added the second bird to it. I edited the key frames to show the motion of flight.

Wednesday 30 November 2011

Animation!!! Outside view


Having finalised the building adding window frames from annas model and adding detail to the environment such as foilage I then could start the animation. Some lighting was placed in the scene to create a morning sunshine. This was done using two standard omni lights to give the enough light all the way around the building without compremising the material render.
Before each key frame was set I set the 'Key Filters' to only what setting I needed for that particualr key frame. This helped me when using the animation editors by not having to much animation data.
The outside front view was shot using a free camera with a 20mm lens constrained to a path.

Monday 28 November 2011

Road, path and grave stones


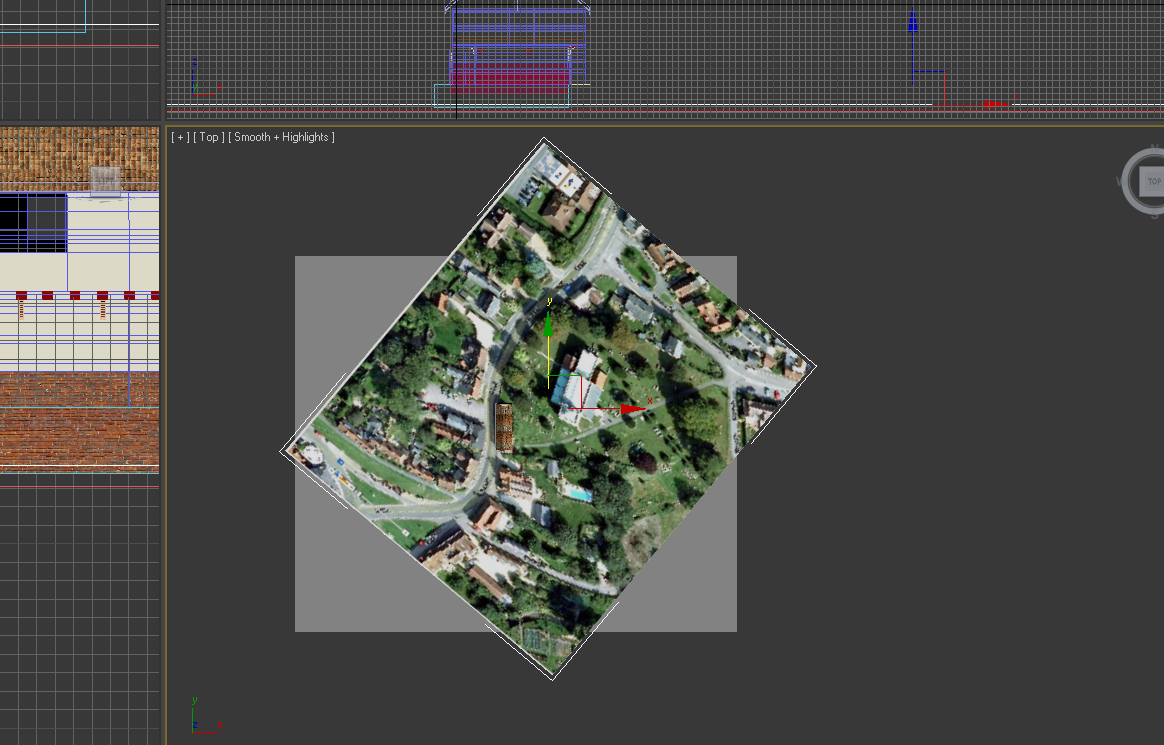
I used the google birds eye map to draw the road and path using the line tool. I then moved and added vetexs where needed to match the uneven ground that I had already mad using a noise parameter.
That material was made using a speckle map.
For the grave stones I made using simple shapes and lines. For the material I made a copy of the path and changed the colours to grey and green to look like moss growing on them.

Thursday 24 November 2011

Source of Characters


Initially we discussed having characters in our animation
which we agreed we would source from free models. Unfortunately I was unable to
find suitable models that would fit within the look of our animation. Therefore
we reviewed how we will animate without characters. We will make good use of
sound clips to enhance our animations and models which we have already done.

Tuesday 22 November 2011

Stairs

For the stairs I used another new feature, the preset stairs in the geometry tab. I used photo's taken on the Guildhall trip.


Using the parameters tab I was able to make stairs that some what replicated the actual stairs but in much less time than it would have taken to model manually. I feel that for the purpose of the animation they will be suitable. I was also able to include a handrail and selected the side that I wanted it.

Hatch and Doors


To model the hatch I used some techniques that I have not previuosly used before. One was slice modifier. I used this as because the hatch and door ways were on the inside of the archway which made it very difficult to get to.
I used the picture above from our Finchingfield Trip group on flickr (http://www.flickr.com/photos/49261438@N07/6214064298/in/pool-1743910@N25) as a reference guide of what the hatch looked like.

Another new feature I used was the preset door creator. I choose a pivot door and selected double door for the shutters for the hatch.

For the door I just used a standard pivot and applied a bitmap material to it.

Thursday 17 November 2011

Surrounding Landscape

As the church will only be briefly shown in the animation only a bacis model is being created. You can see below, two boxes were created and then seperate polys extruded to give some detail.
Inorder to place the external buildings and lanscape features in the correct positions I saved a birds eye map of the guildhall and made a reference plane with the image.


Wednesday 16 November 2011

Beams

I used chamfer for the end of the beams.
I used clone for a group of beams and made 6 copies to cover the length of the building.

Monday 14 November 2011

Wooden slats

For the wooden panels I created the image above and extruded it using the extrude modifier.
I applied a wood texture and adjusted it with a UVWmap modifier.

Windows glass material

I created a glass material for the windows from a online tutorial I have used before and got a good result.

Sunday 13 November 2011

Wall and Brick material

For the rendered walls I chose a architectural material and selected a masonry template then applied a just off white diffuse colour. This should give us the right effect when lighting has been added to the scene.
I used the picture above as a rough guide as to how the Guildhall previously looked. I saw from this picture that the brick work went all the way round round the building, where as presently it is only at the front. Therefore I have put the brickwork all the way around.
In this part of the building the brickwork was stretched so I created a new material using the same brick and applied it to the problem poly only and altered it using a UVWmap gizmo.

Material for roof

Roof 1
Roof 2

I chose two different textures for the roof from www.cgtextures.com and manipulated them using a UVWmap gizmo. Then end result where the two images above, it was decided that roof 1 would be used as although you can tell it has been tiled it is not as obvious as roof 2.

Friday 11 November 2011

Roof Detail


I used a quick slice on the roof where I needed the indent. I then moved the newly created polys into the correct positions.


For the chimney I made the top polys slightly larger and chamfered the edges.

Thursday 10 November 2011

Archway and Roof


For the roof I started with a plane and then created extra polygons for the edges and sides.


Fot the archway I deleted the polys on one side and extruded the others the other side and then deleted them to leave a hole.

Friday 4 November 2011

Problem with window

I have just found a problem with the reference guide. As these are the architecs drawings for what the building will look like they have filled in a window. As we are modelling it on how it used to look we would need this window but this will effect the rest of the groups work therefore I will discuss with the group what they would like to do.

Guidlhall

For the main building I started by creating boxes using the reference guides then converting them to editable polys. I then began setting the windows using the swift loop tool and manually moving edges, then extruding them so they were indented.

Thursday 3 November 2011

First Task - Guildhall


I have been allocated the task of modelling the Guildhall and have agreed to model the exterior of the building. I started by setting up references for the whole group to work from so that we are all modelling to the righ size.